Category Archives: tutorial

Photographing Your Work

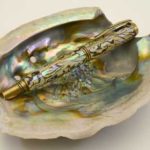
Distracting Background

I’ve served as a juror for high end craft shows for many years. One issue that always stands out is how people photograph their work.  Some people have elaborate sets, props and backgrounds, and the piece that they are trying to photograph gets lost in the background.  They feel that the “artsier” the image the better, when a plain image is sometimes better.  I am no expert by any means, however, when you can see the work clearly then you are ahead of the game.  Below you will find some general guidelines to help you obtain the image you want so your acceptance into a “Pen Contest” or a juried craft show gets easier for you.

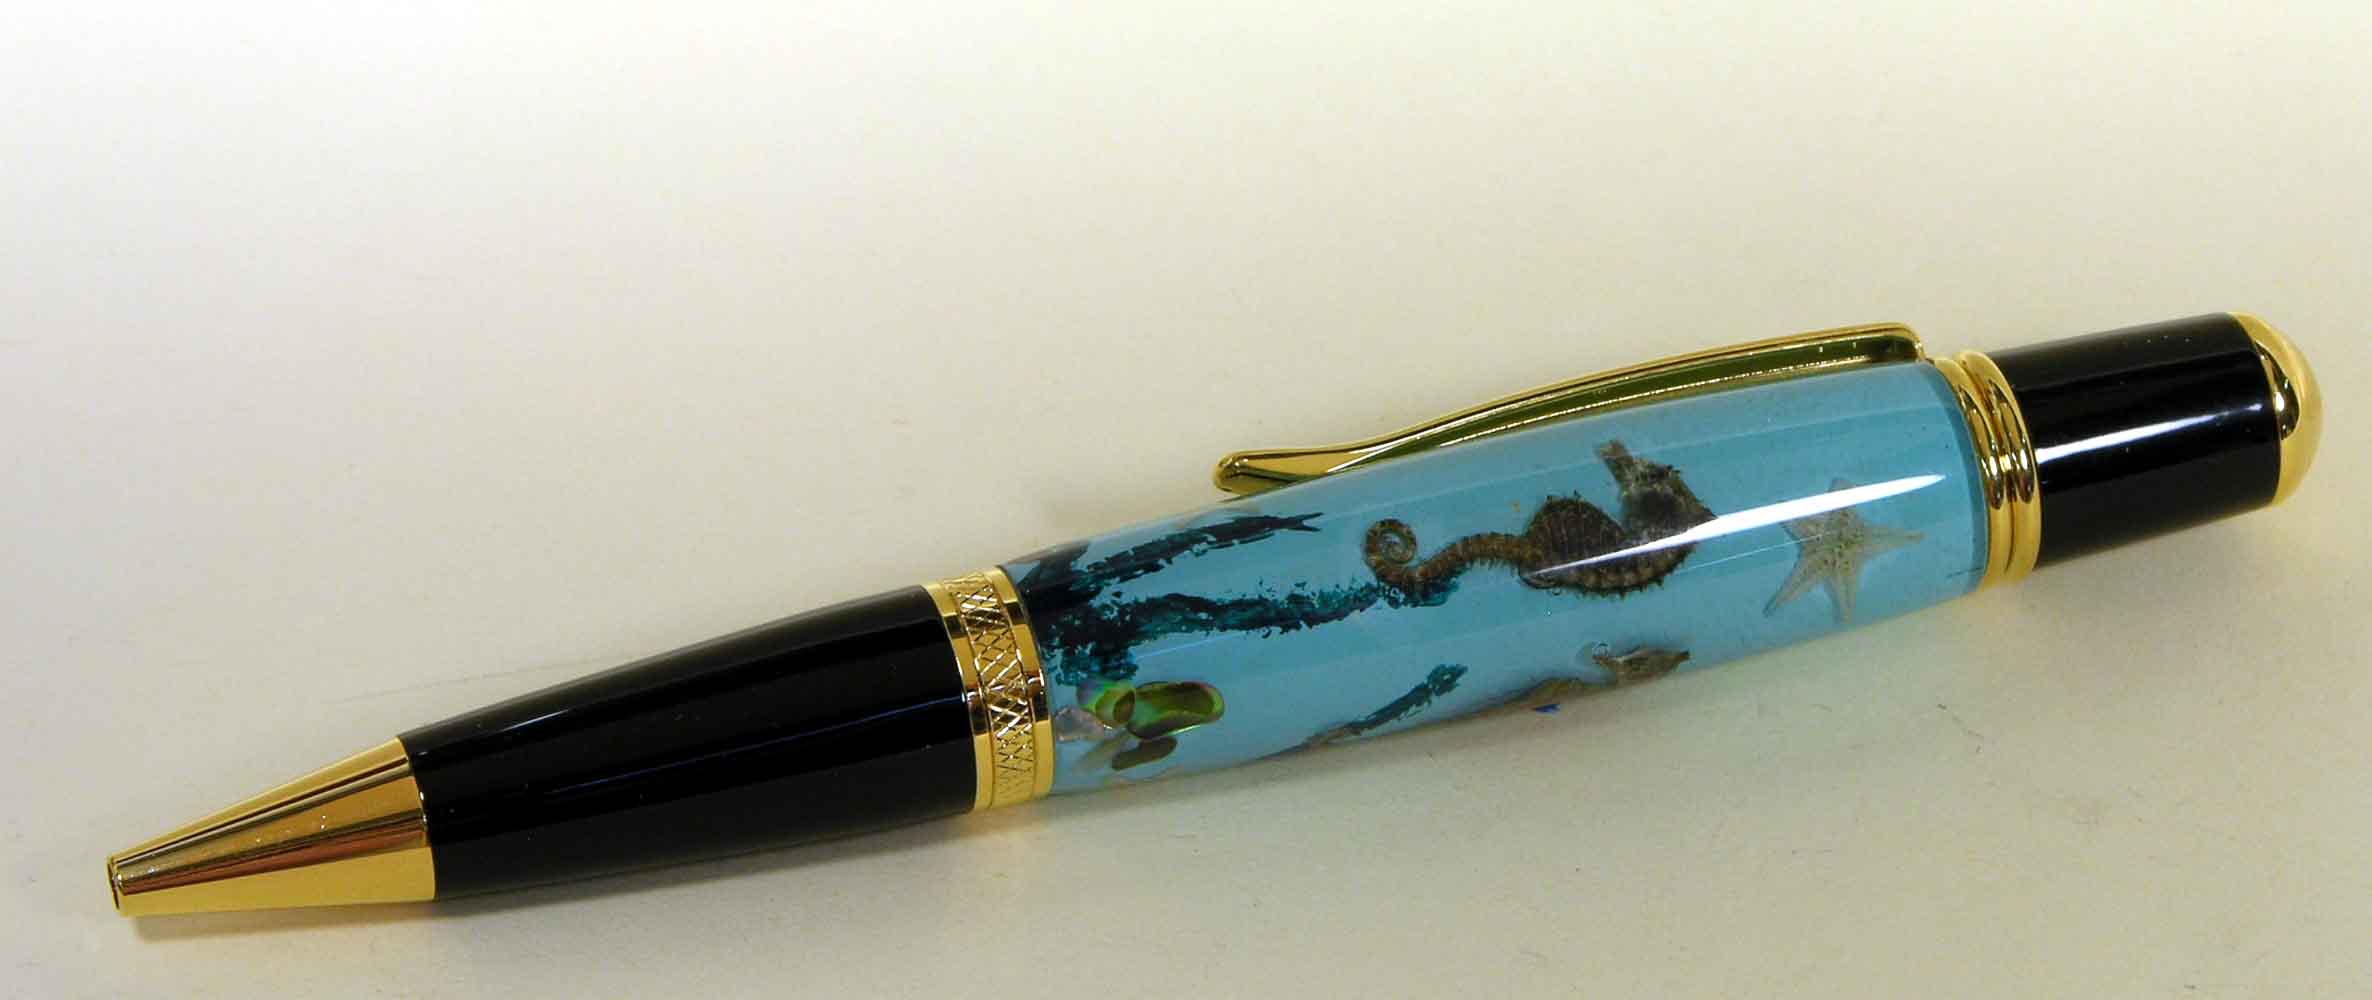
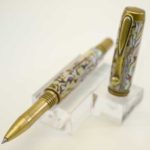
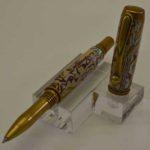
Clean Background & In Focus
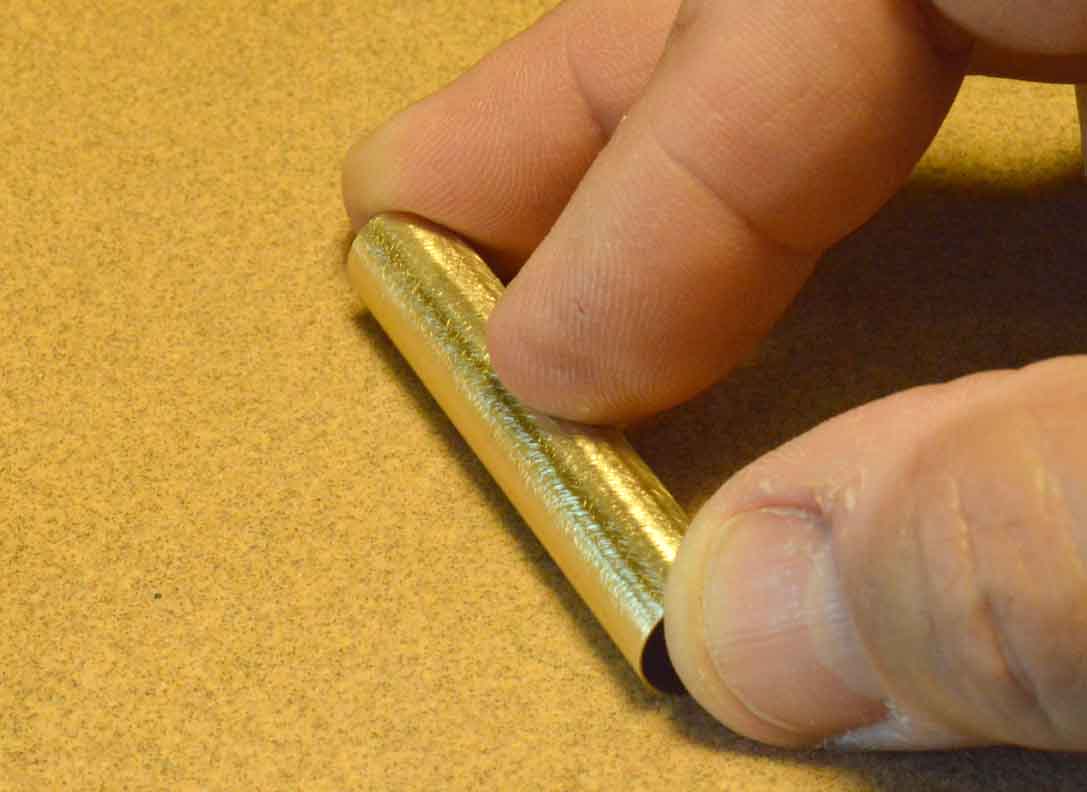
Out of Focus

First and foremost, make sure your piece is in focus!  If you are using a digital SLR camera do not use the auto setting.  Use the aperture setting (lens opening) on your camera and set it as high as you can (f16 or f22) to get the most depth of field (focus) as you can.  This will assure your photo will be in focus from the front to the back.  A tripod is helpful to hold your camera to steady the image. Please consult your camera’s manual for exactly how to use it manually.
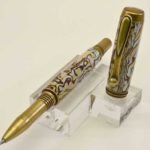
Lighting is very important.  A dark picture cannot show the detail in the work.  Natural sunlight is best

Dark Image

but it can give you very harsh shadows.  Use a light tent and light the image from three sides, (top, and left & right sides).  By lighting from three sides, you soften any shadows you may get. The light cancels out the shadows.  Using one source of light will usually produce harsh shadows.

Use a plain background.  You want your pen to be the main focus not what you are using as a background. I personally like using a clear pen stand to photograph my pens. If you do not use a stand for your photograph, and you just lay it on your background, your pen will tend to roll and not lay the way you want it to.  Use some tacky putty, museum wax or a tiny piece of scotch tape rolled up and stuck to the back of the pen.  This will allow you to position the pen in the way you want.

Although a digital SLR will probably give the best results, you can still get very good results using a phone or tablet that have a good camera. There are many photography apps available that can help with aperture & focus. Do not use any built-in filters, they won’t make your photo any better. There are attachments for phones & tablets that will allow you to use a tripod to keep it steady for a sharp photo.

So, lighting, focus and a plain background will work most of the time especially, if you are trying to win a “Pen Contest” – get the hint!  Good luck and happy picture taking!

Lever Action Click Mechanism – not clicking? – Quick Fix!

This is an easy fix for a “sticky” click mechanism.

With thousands of Lever Action pen kits sold, we have had only a few “sticky” click mechanisms, and even those have been fixed in the field!  Every now and then, any click mechanism may slip out of alignment and not click properly.

If you look down the center of the inside of the lever action click mechanism you will see four little white “arms” that stick out.  (Photo below left)

Take a paperclip that has a slight hook on the end, and slide it behind one of the little arms and pull it up.  “Jiggle” it a little bit. It should fall back into place, and you have now repaired the click mechanism – see I told you it was an easy fix!

Paperclip inside of lever action click mechanism.

Paperclip inside of lever action click mechanism.

Lever Action "tool"

Lever Action “tool”

Blanks Blowing Up? A Possible Gluing Problem

Glue Problem?

Do you have a Glue Problem?

I get calls every week from pen makers who ask why their pen blanks are blowing up. I ask them about when they blow up. They tell me it’s either when they first start to rough turn them, or when they are just getting to the end, right before they start to sand, is when they usually blow apart.

Glue not applied thoroughly

Glue not applied throughly

My answer to them takes a little bit of a different approach. I ask them what type of glue they use to glue the pen tube in, and then they ask me why I am asking them that question. My response is, if there is not enough glue on the pen tube, and you do catch it with your tool, it can rip the material right off the pen tube as illustrated above.

Roughen up with 100 grit sandpaper

Roughen up with 100 grit sandpaper

Try these steps to get a better result, and prevent a blowout.

  1. Make sure that the pen tube is roughed up. Use 100 grit sandpaper so your glue has something to grab on to.
  2. Place the medium CA glue on the pen tube and cover it completely. Not so much that it is dripping all over the place, but make sure you have enough to coat the whole tube.
  3. Insert the tube in one end of the pen blank. Move it in and out of the pen blank a few times to distribute the glue along the blank.
  4. Turn the pen blank around, and repeat the procedure until the inside of the pen tube “looks wet”, and you are sure that the entire length of the pen tube has a nice, even coating of glue.
  5. Place the pen tube inside the pen blank once more and let it dry thoroughly.
  6. Turn it, and enjoy a blowout-free experience

Try this technique and it may save you from a major repair one day!

Happy Turning!

Barry-Signature

Clear Casting Issues: What to do

Now that  fall is approaching, more people will be getting back into their shops to make some pens. Clear casting your own acrylic pens is very popular.

An issue that may occur when clear casting your own blanks is that the acrylic does not entirely cure. In other words the acrylic is tacky to the touch. This can be caused by a number of issues:
1) Did you use the correct amount of hardener per the manufacturer’s instructions?
2) Is the ambient temperature where you are casting, within the range of acceptable temperature for curing the resin?
3) Humidity – is your particular area very humid?

The best ambient temperature will be around 60-70 degrees. However, most of us do not live in that type of climate year around, so adjust the number of drops of hardening or curing agent for the ambient temperature as per the directions that came with your particular resin kit.

Resin casting tubes with fishing flies (left) and seahorses (right)

Resin casting tubes with fishing flies (left) and seahorses (right)

Finished seahorse resin casted pen.

Finished seahorses & shells resin casted pen.

If you did follow the instructions, and your cast was still tacky, a way to dry the acrylic is to place the mold in the direct path of the sun with a cover over it, and in about an hour it should dry, weather permitting.   Another option for drying is a toaster oven, but please do not cook the mold! Turn on the toaster oven (with your spouse’s permission, of course) to about 120° and once it is warm,  UNPLUG the oven, place the mold in the oven, close the door and let it cool down. This will definitely dry it quickly.

Now, I know someone out there will say “Then why can’t I just put the mold in the toaster oven to start with and accelerate the drying process?” Polyester resin needs a catalyst to get the reaction started, and when the catalyst is added, it generates heat. If you place the mold in an oven, you will only be generating more heat, and when the casting cools, it will be 10 times more brittle because you have heated it during the drying cycle! Polyester resin is brittle enough, without making it more brittle by overheating it.

I hope this will answer some questions about casting- we will delve into more casting issues in another blog entry.